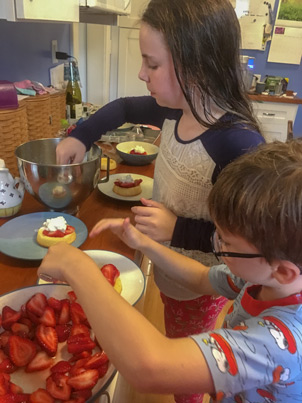
I hope you had a Happy Valentine’s Day! Each year I usually bake cookies with the girls. Click here for the recipe for the Valentine’s cookies we made last year. Today, Ellie and I made sugar cookies!
Baking is just one simple way to involve kids in cooking. You can measure out all of the ingredients ahead of time and have your child help cut out the cookies or sprinkle on the sugar to keep things simple.

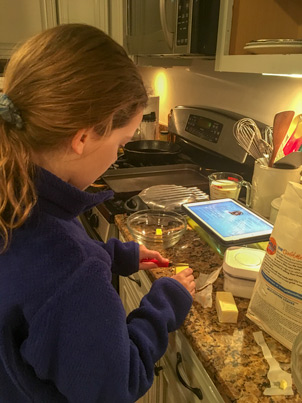
The thought of cooking with kids, especially young ones can feel overwhelming. But it doesn’t have to be complicated. You can let them just stir something, or sit on the floor with an empty pot and spoon and “cook” on their own or simply unwrap a stick of butter. As they get older and begin cooking on their own, things can get pretty messy! This is a great opportunity for them to take on the cleanup process, too.
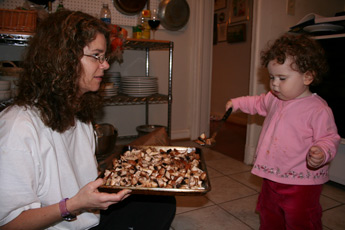
(This picture of Caroline is from about 13 years ago!)
Tips For Cooking With Kids
Kitchen safety
Safety in the kitchen is often a big concern for parents. Think about
You’ll want to give children activities that are safe and age-appropriate. For instance, your toddler/preschooler isn’t going to cook anything on the stove or use a sharp knife.
Letting children help in the kitchen provides a nice opportunity to teach them about kitchen safety, following rules, and even math.
Toddlers
They’ll need lots of supervision and something safe to stand on or in (we used this Learning Tower when Caroline and Ellie were young).
- Pretend cook – just give them a spoon and a bowl and let them sit on the floor and bang away
- Rinse fruits, veggies, and beans
- Stir dry or wet ingredients that aren’t hot
- Whisk dry or wet ingredients that aren’t hot
- Help measure wet or dry ingredients that aren’t hot
- Put ingredients in a bowl
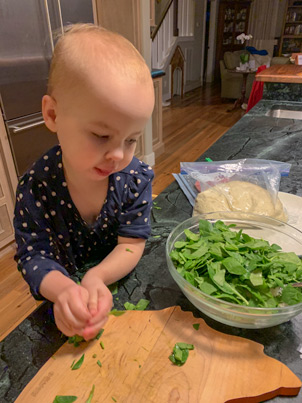
- Tear herbs or lettuce
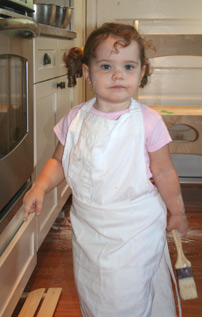
- Brush on oil or egg wash with a pastry brush
- Toss the salad
- Use a cookie cutter to cut cookies
Preschoolers
- All that toddlers do PLUS:
- Fill muffin tins with muffin or cupcake batter
- Pour cold ingredients
- Get out pans, bowls utensils,
and ingredients - Let them cut soft foods like strawberries or butter with a butter knife or one of these knives designed for young children (Put a damp towel under the cutting board so it doesn’t shift around).
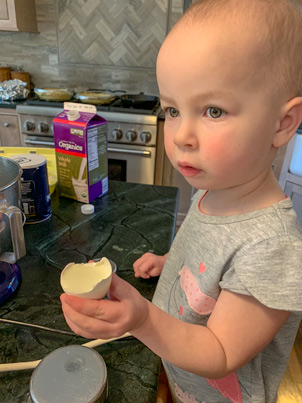
- Crack eggs
- Separate eggs
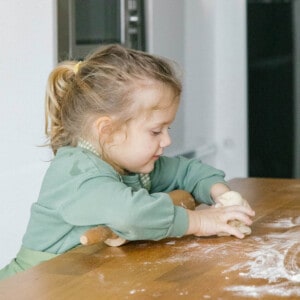
- Roll or knead
dough - Top a pizza or
fill burritos or quesadillas - Mash avocado with a fork or potato masher
- Counter clean up
- Snap green beans
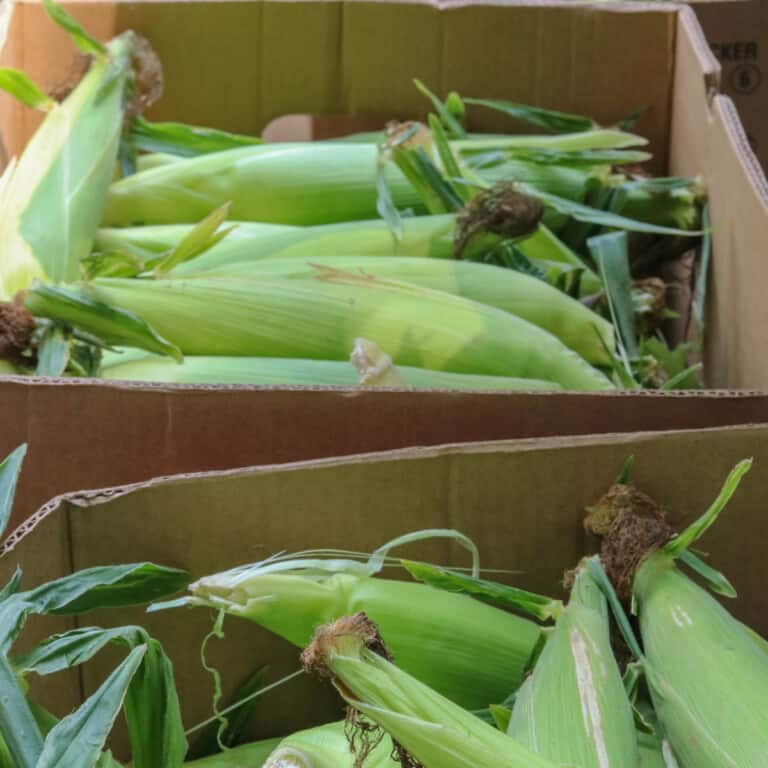
- Shuck corn
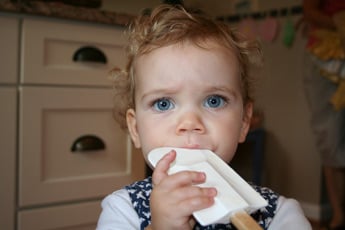
- Unwrap butter or cream cheese
Elementary Age
- All of the above PLUS:
- Read the recipe and get all the ingredients out
- Peel vegetables and fruits with a peeler
- Make toast
- Use a mixer with supervision
Tween and Teens
Once kids reach this age group and they have all those years of cooking with you, they’ll really take off. Teach them to safely use a sharp knife. At this stage, they can help with making meals on a regular basis, even. They still need reminders of kitchen safety (tweens especially). And there might still be a big mess when they’re done.
What’s Your Earliest Memory of Cooking?
One of my earliest and fondest memories was in preschool when we cooked lunch for our parents. We made tomato soup and grilled cheese (or maybe it was open-face toasted cheese sandwiches.) I have a memory of standing on a chair so I could have my turn stirring the soup. I’m sure that’s where my love of cooking began! If you’d like to read more about the benefits of cooking with kids, click here to read a previous post.
What are your favorite ways to cook with kids? And how do you celebrate Valentine’s Day? We love to hear from our readers!
This post contains Amazon Affiliate links.
This recipe is adapted from Maida Heatter’s Cookies.
Maida Heatter’s Sugar Cookies
Ingredients
- 3 1/4 cups sifted all-purpose flour
- 2 1/2 teaspoons baking powder
- Scant 1/4 teaspoon salt
- 6 ounces 1 1/2 sticks unsalted butter
- 1 1/2 teaspoons vanilla extract
- 1 1/2 cups granulated sugar
- 2 eggs
- 1 Tablespoon milk
- Additional granulated sugar for topping
Instructions
- Gently whisk the flour, baking powder and salt together and set aside.
- Cut the softened butter into about tablespoon size pieces. Place them in the bowl of an electric mixer and cream using the paddle attachment. Then add the sugar and vanilla extract and beat for a minute or two.
- Add the eggs one at a time beating after each addition. Then add the milk and beat until combined (just a few seconds). Scrape down the sides of the bowl.
- Gradually add the dry ingredients and mix until combined.
- Remove the dough from the mixer bowl and divide the dough in two. Wrap each half in parchment paper or wax paper. Chill for 1-2 hours.
- Preheat your over to 400 F.
- Roll out the dough on a floured surface using a lightly floured rolling pin. Roll the dough to about 1/4 inch thickness. Use whatever shape cookie cutter you’d like.
- Place the cutouts on a parchment-lined baking sheet. Sprinkle generously with sugar.
- Bake for 5-10 minutes depending on the size and thickness of your cookies.


Wonderful ways to teach kids to be handy in the kitchen!
Thank you!!