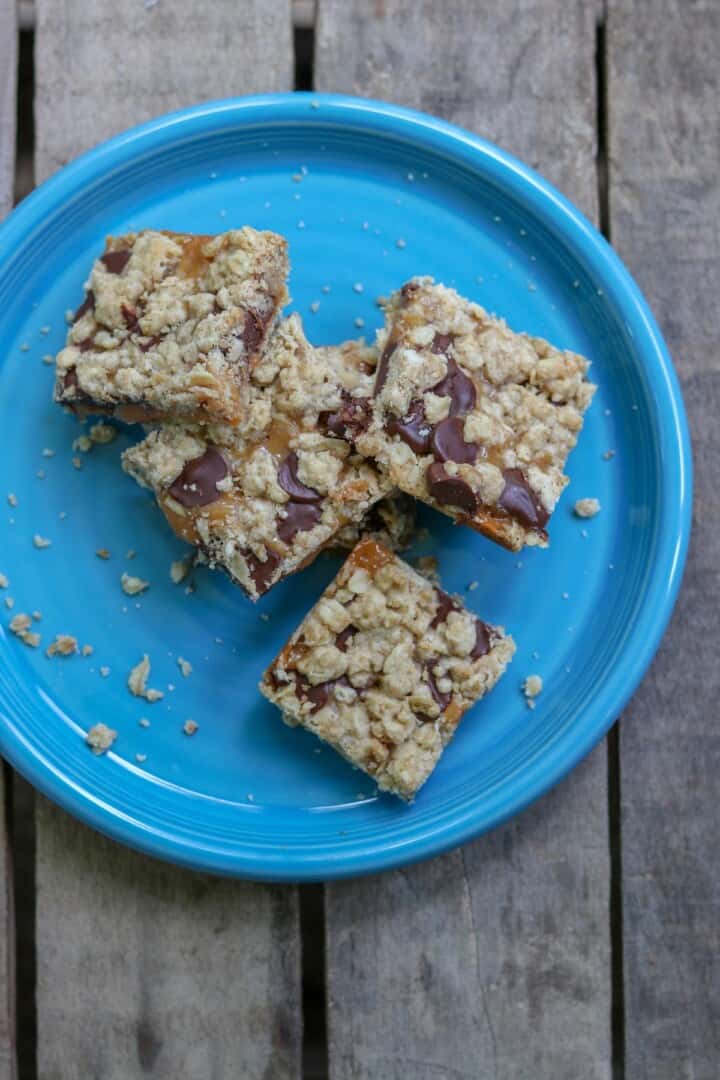
If you’re looking for a simple, crowd-pleasing dessert, you’ll want to try this recipe for Carmelitas. It’s hard to beat this combination of caramel, chocolate, oats, and dark brown sugar! Carmelitas are delicious and simple to make. They’re one of my most requested recipes and one of my family’s favorites.
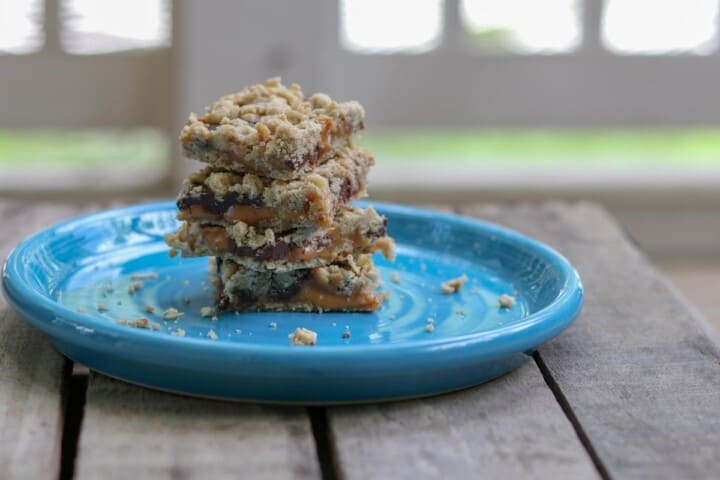
They make a great after school snack or dessert. Oatmeal Carmelitas are one of my favorite desserts to take to any gathering. This Carmelita dessert is sure to become one of your go-to recipes.
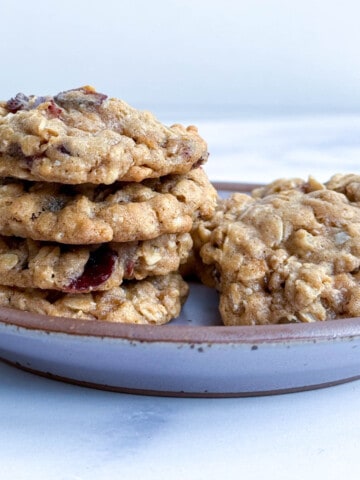
If you love oatmeal cookies, try my Oatmeal Craisin Cookies recipe. If you’re looking for more cookie recipes, check out my recipes for Molasses Spice Cookies and Valentine M&M Cookies. You can substitute any color plain M&M’s in to this recipe, so they’re not just for Valentine’s Day.
Table of contents
- What you’ll love about Carmelitas
- Expert tips from a Registered Dietitian for navigating sweets
- Ingredients needed to make this recipe for Carmelitas
- How to make Carmelitas
- Tips for making Carmelitas
- FAQs for Carmelitas recipe
- Carmelitas are my family 4th of July tradition
- More recipes and anti-diet tips
- More recipes and family feeding tips
What you’ll love about Carmelitas
- This Carmelitas recipe lends itself well if you’re looking for an opportunity for cooking with kids. My kids help most often by unwrapping the caramels. They can also measure ingredients and flatten the oats, flour, butter, and sugar mixture into the baking pan.
- They’re easy to make.
- You can keep the ingredients on hand for any time you need a last-minute dessert. Of course, I’m also a big fan of buying something to contribute too.
- They’re a great lunch box idea for kids because they hold up well and taste great!
Expert tips from a Registered Dietitian for navigating sweets
- We believe in offering sweets to children on a regular basis. Offering sweets is fun (because they taste great) and helps children learn to use their internal cues and self-regulate. Over the years, I’ve seen so many children from homes where sweets either weren’t allowed or kids were told sweets are bad or unhealthy—a treat one can only have sometimes. These diet culture messages are confusing to children and may make them feel bad for enjoying sweets.
- If your child is very focused on sweets and asks for them often, practice offering sweets before they ask. Offering sweets with meals can also help neutralize them. The child decides what, how much, and if they eat what’s offered. The sweet is on a level playing field with the rest of the meal and the child gets to decide when they eat it. It’s not better or worse, and they don’t have to eat a certain food or finish their meal to get dessert. It’s just part of the meal.
- Avoid using negative, diet culture influenced language about sweets. Practice using neutral, nondiet language and call sweets what they are: cookies, cake, candy.
- Enjoy sweets with your kids. If they see you enjoying sweets, that helps send a message that enjoying sweets is part of a healthy relationship with food. If they rarely see you eat sweets, this sends a confusing message
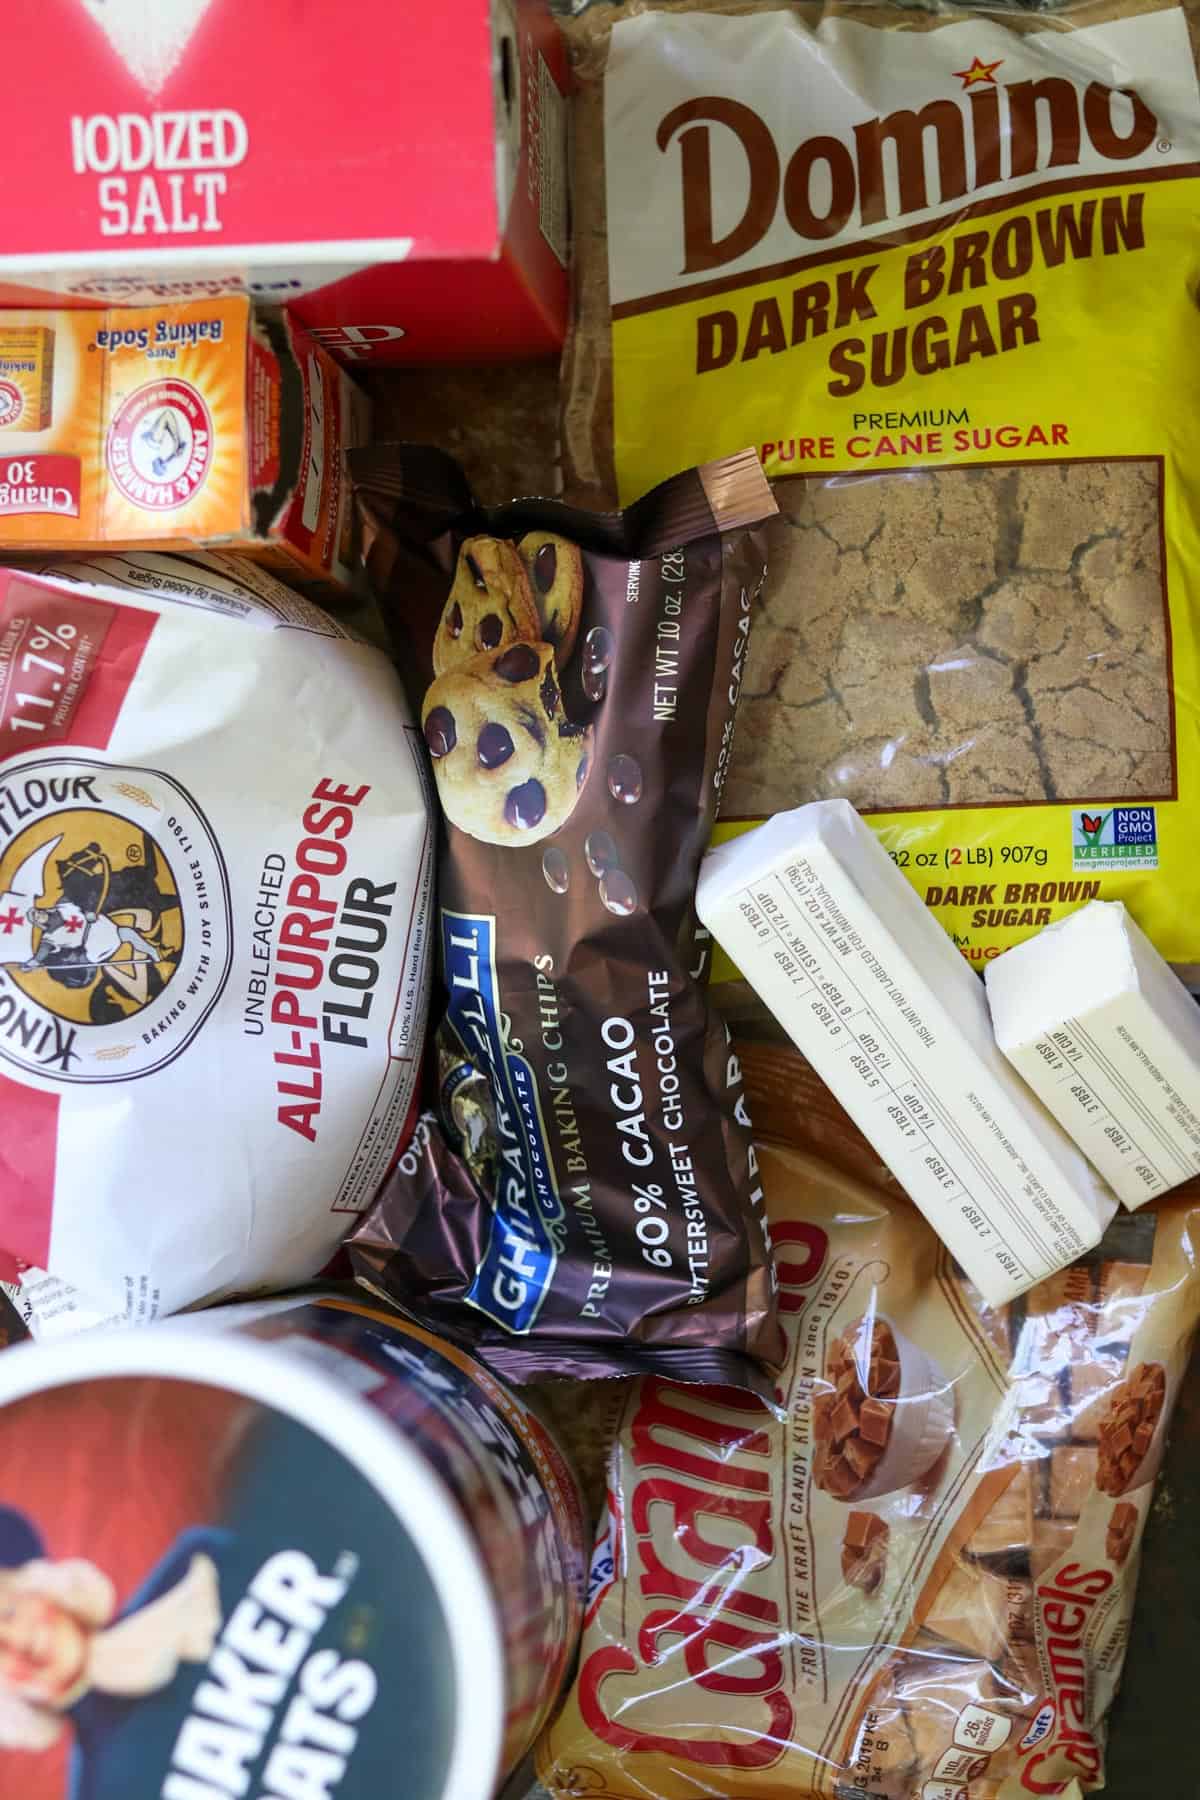
Ingredients needed to make this recipe for Carmelitas
- Unsalted butter
- All-purpose flour
- Old-fashioned rolled oats
- Baking soda
- Salt
- Dark brown sugar
- Bittersweet chocolate chips
- Store-bought chewy caramels like Kraft or Werthers
- Milk
How to make Carmelitas
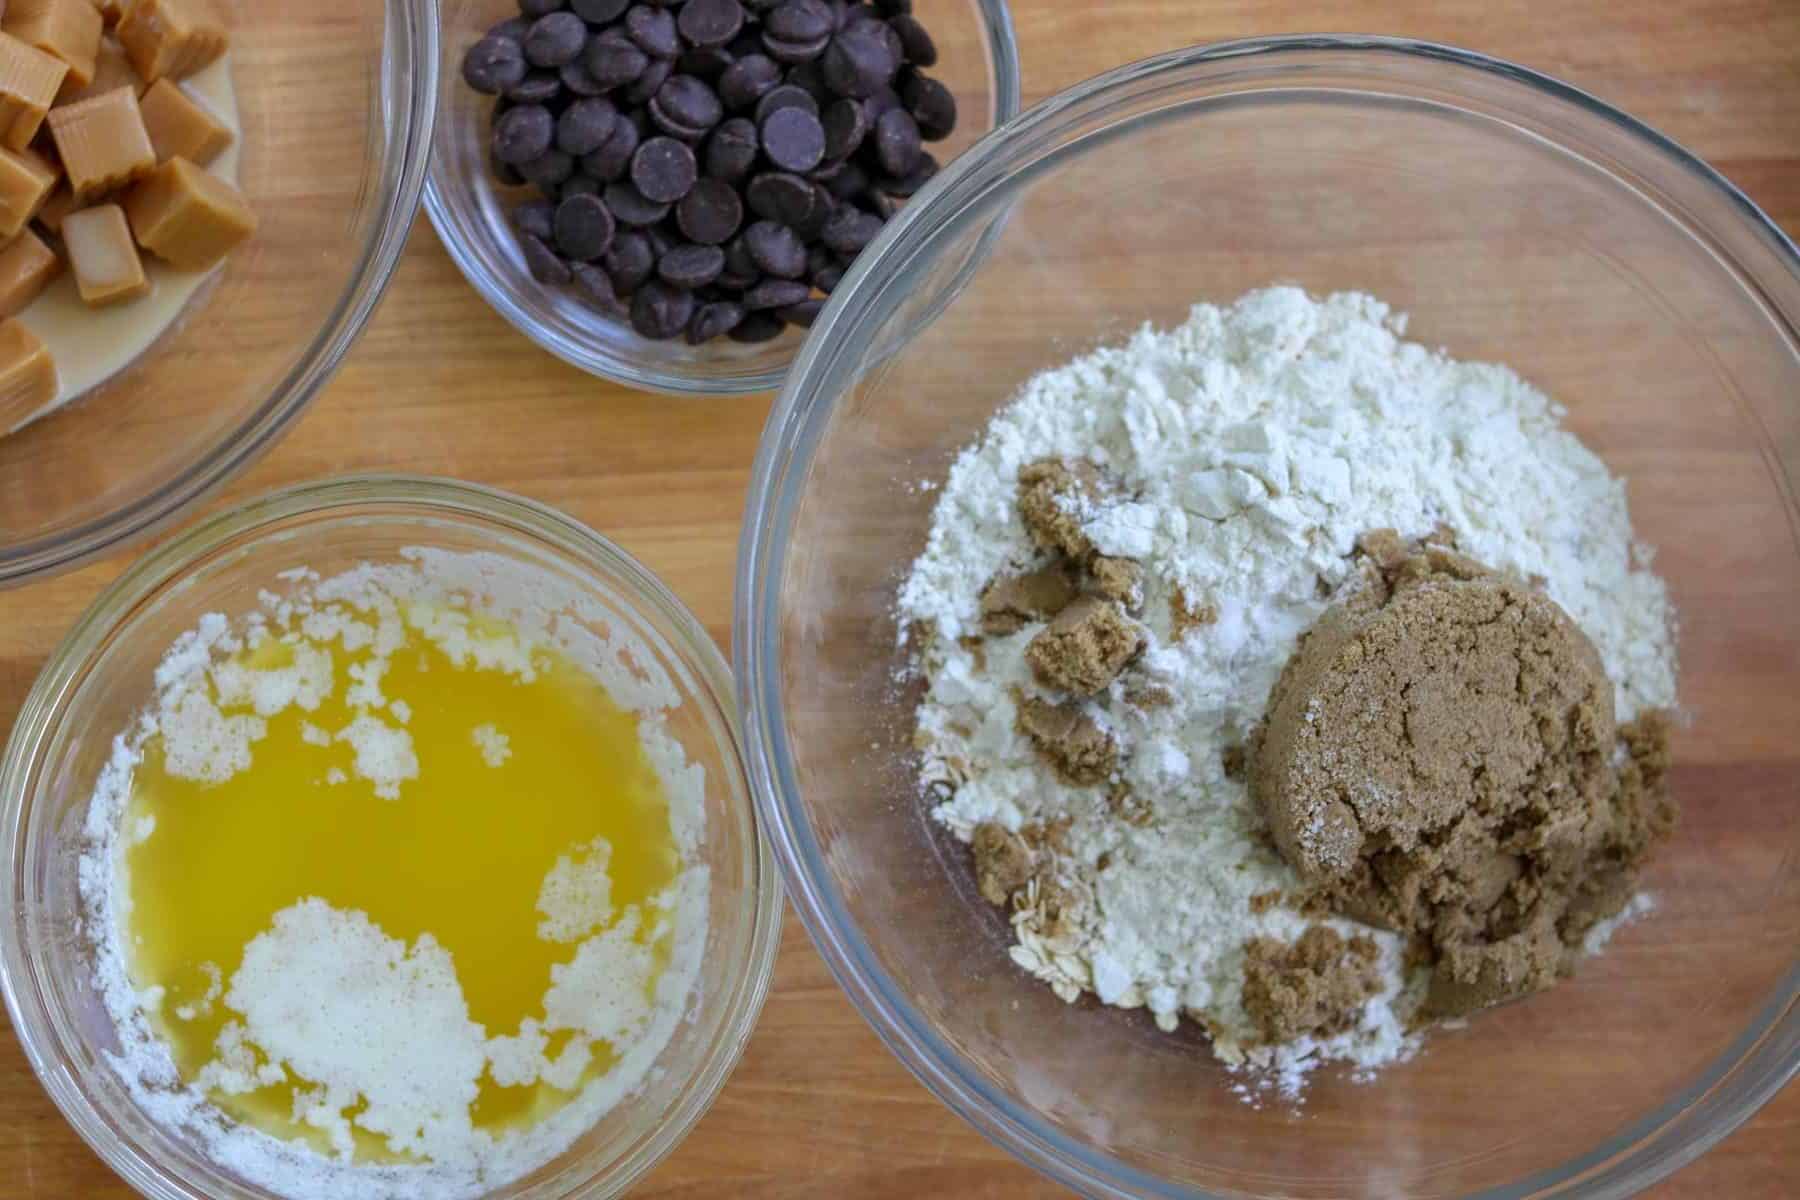
Unwrap the caramels (a great activity for kids of most ages). Mine always enjoy eating a few of the caramels while they unwrap them. Place in a microwave-safe bowl with 2-3 tablespoons of milk. Melt the butter and set aside. Mix together the oats, flour, dark brown sugar, salt, baking soda.
Add the melted butter to the oat, flour, and brown sugar mixture. Divide the mixture in half and press half into the bottom of a prepared 9 x 13 pan. Place in an oven preheated to 350 F and bake 8-10 minutes.
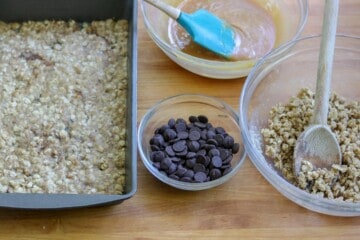
Melt the caramel in the microwave, stopping to stir about every 30 seconds until melted. Don't let it bubble, or the caramel will get too hard during baking.
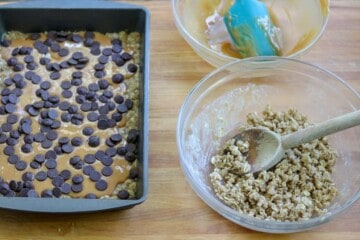
Drizzle the melted caramel over the baked oat mixture. Then sprinkle the chocolate chips over the caramel.
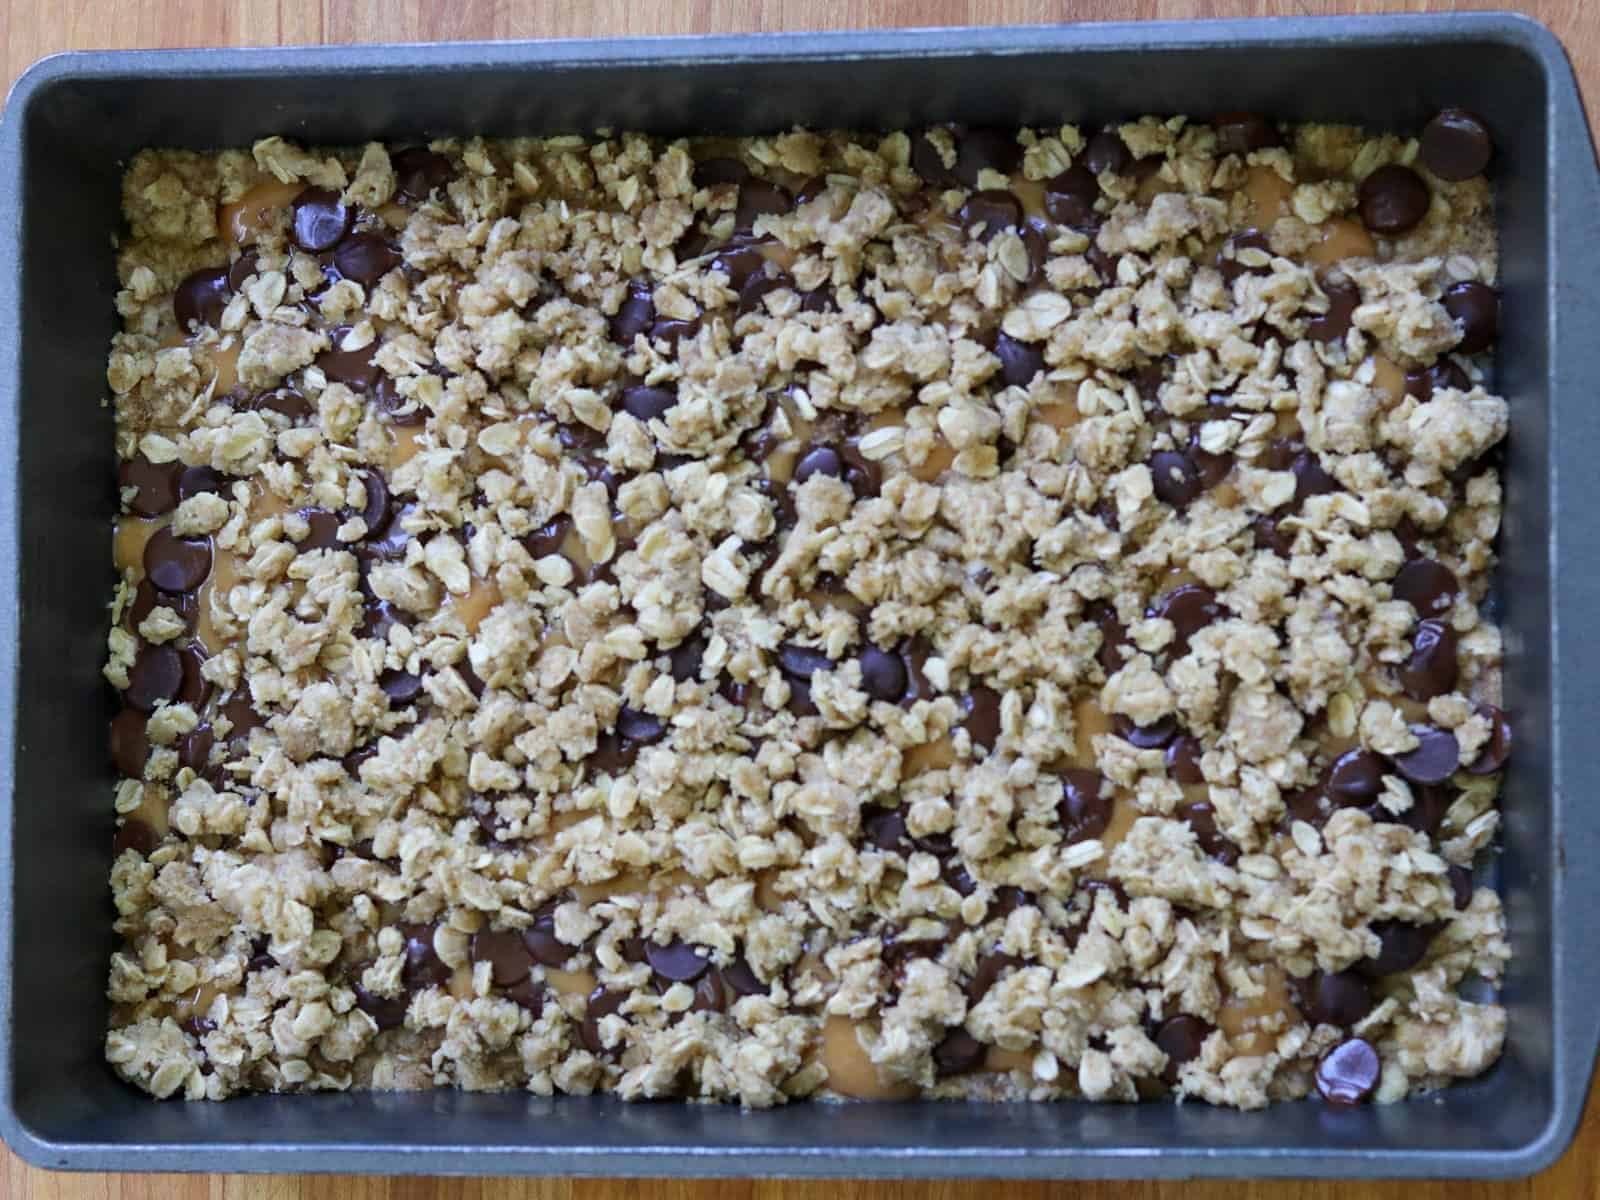
Crumble the second half of the oat mixture evenly over the chocolate chips. Return the pan to the oven and bake 7-10 minutes or until the top begins to brown a bit.
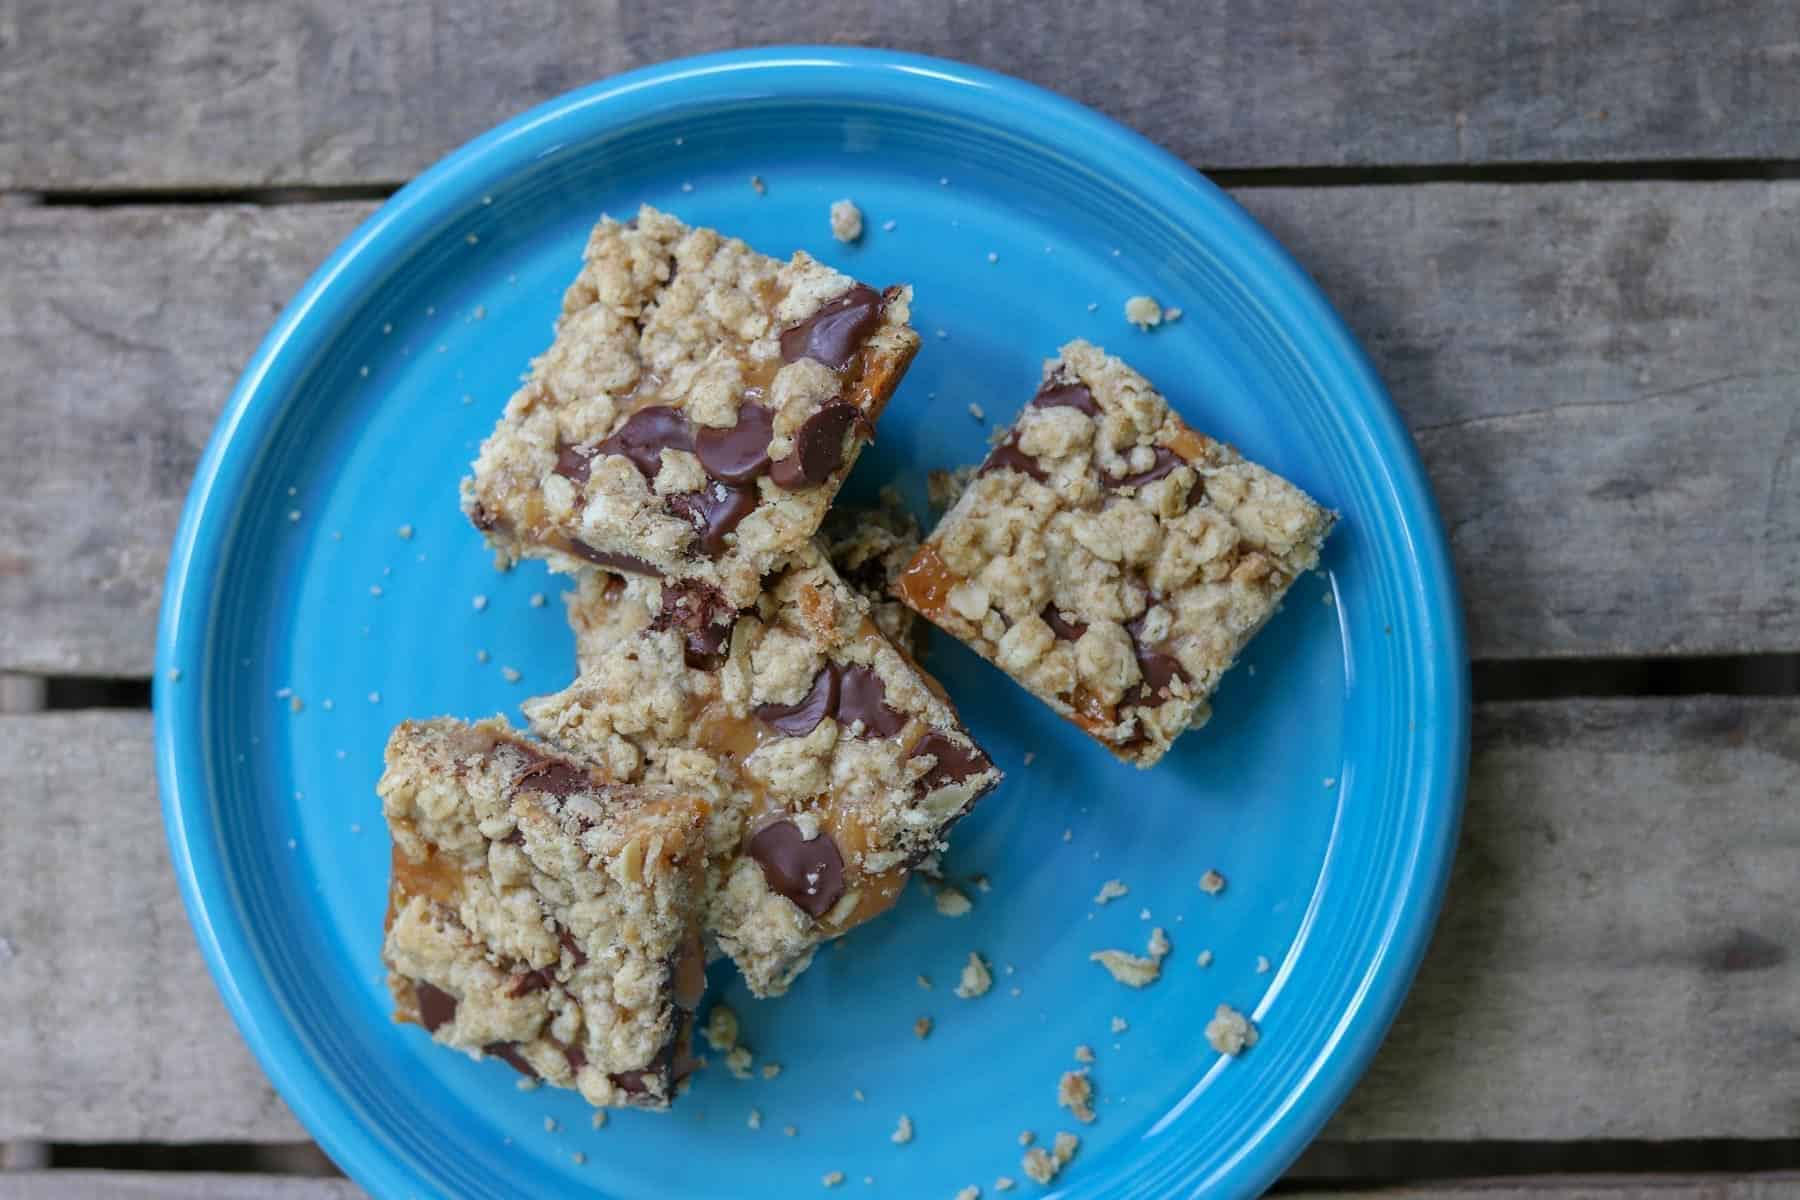
Allow to cool for a couple of hours. Cut the Carmelitas into about 36 squares and enjoy!
Tips for making Carmelitas
- The bottom layer will seem very thin. That’s ok. It’s supposed to be that way.
- Avoid overheating your caramel when melting it. Caramel that gets too hot will become rock-hard. When microwaving the caramel, heat at 30-second intervals and stir after each interval.
- Allow the Carmelitas to cool in the pan for at least 1 hour. Then put them (still in the baking pan) in the refrigerator for about an hour before cutting. You don’t have to put them in the refrigerator to cool, they’ll just need to cool longer at room temp to allow the caramel and chocolate to set.
- If you’re taking this carmelitas dessert to an event that’s outdoors, know that the chocolate and caramel may get a little melty, which means your fingers may get a little messy when you’re eating the bars. But they still taste amazing!
- They’ll last for up to a week (if they don’t all get eaten before then) stored at room temperature in an airtight container.
FAQs for Carmelitas recipe
Can I freeze Carmelitas?
Definitely! Make a double batch and freeze one for the next get-together or anytime you’re in the mood for homemade oatmeal Carmelitas. You can cut them or leave the Carmelitas as one 9 x 13-inch block. Wrap them in plastic wrap and then place in a plastic Ziploc bag or wrap in aluminum foil. Write Carmelitas and the date on the outside so you can find them in the freezer later.
To thaw, simply remove them from the freezer and allow them to thaw on the counter.
Can I double the recipe?
Yes, this recipe doubles well. Bake them in two 9 x 13-inch pans.
Can I use instant or quick-cooking oats to make these Oatmeal Carmelits?
It’s not recommended because you’ll lose the nice chewy texture the rolled oats give the bars.
Can I use different caramels or caramel sauce?
I typically use Kraft caramels, because they're easier to find than the Werthers chewy caramels. But either brand works well. I haven't tried the recipe with caramel sauce, but I will and will report back to you.
Carmelitas are my family 4th of July tradition
What are your July 4th traditions? Our 4th of July doesn’t have any food traditions (this is highly unusual for me because I love food traditions!). Though it does make me think of corn on the cob, fried chicken (or burgers and hot dogs on the grill), deviled eggs and watermelon. If I was making a special meal for the 4th, I’d include some or all of these foods for sure! I'm guessing these were foods we had on the 4th of July when I was a kid. And for dessert, I’d likely make these Carmelitas.
We've been going to Chautauqua, NY for 10 of the past 11 years, and 9 of those years we've been there for the 4th of July. We're there this year too! A big part of our tradition is the Chautauqua Symphony Orchestra Pops Independence Day Celebration in the Amphitheater, which includes the audience popping paper bags in time to the cannon shots in the 1812 Overture! Then, it's just a short walk to the lake to watch the fireworks around Chautauqua Lake. When the girls were younger, they participated in the Children's 4th of July Parade for all the Chautauqua Children's School kids. Here's a photo of Ellie in the Children's School Parade back in 2012.

More recipes and anti-diet tips
Carmelitas: A Simple Delicious Dessert
Equipment
Ingredients
- 1 cup flour
- 1 cup old fashioned rolled oats
- ¾ cup dark brown sugar
- ¼ teaspoon salt
- ½ teaspoon baking soda
- ¾ cup unsalted butter melted
- 1 cup bittersweet chocolate chips semisweet works fine too
- 1 bag Kraft caramels unwrapped and melted with
- 2-3 tablespoons of milk
Instructions
- Preheat your oven to 350 F. Lightly spray a 9 x 13-inch baking dish with cooking spray or lightly butter the pan.
- Unwrap the individual caramels and place them in a microwave safe bowl along with about 2 tablespoons of milk. Set aside until ready to melt.
- Cut the butter into pieces and place in a microwave-safe bowl. Melt and then allow to cool slightly.
- Place the flour, oats, dark brown sugar, salt and baking soda in a medium-size mixing bowl and mix to combine. Add the melted butter and mix until the ingredients come together.
- Divide the mixture in half and put half of it in the prepared 9 x 13-inch pan. Press the mixture into the bottom of the pan. It will be a thin layer. Place in the oven and bake for 8 - 10 minutes.
- While the first layer of the oat mixture is baking, place the caramels and milk you set aside earlier in the microwave and microwave about 30 seconds at a time until melted. Stirring after every 30 seconds with a heatproof spatula. You don’t want the caramel to boil or it will get too hard to eat when baked.
- Remove the pan with the first layer of oats from the oven.
- Carefully pour the melted caramel over the baked oat mixture. Then sprinkle on the 1 cup of chocolate chips. And last crumble the rest of the oat mixture evenly over the chocolate chips and caramel.
- Place in the oven and bake another 7-10 minutes or until the oat mixture begins to brown.
- Allow to cool for a few hours before cutting. OR you can allow to cool about 30 minutes and then place the pan in the refrigerator for about an hour. This makes the caramel more firm. I recommend this cooling option if you're going to a picnic and it's hot outside.
- Cut the cooled Carmelitas into about 36 squares and enjoy!



Leave a Reply