Updated November 30, 2025
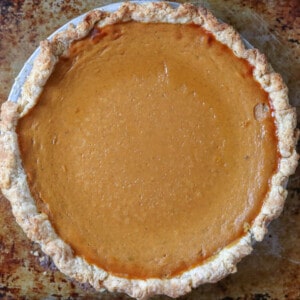
This is Anna’s favorite pie crust recipe. She makes it each year for her pumpkin pie at Thanksgiving, and she’s been making it for the past 10 or more years.
If you feel intimidated by the thought of making pie dough from scratch, don’t worry! This homemade pie crust recipe is simple and has easy-to-follow steps that even beginners can master.

So grab your rolling pin, and let’s get started making easy homemade pie dough. This pie crust recipe makes enough for one single crust pie. If you’re making multiple single crust pies, a fruit pie or other type of double crust pie, simply double (or more) the recipe.
Why you’ll love this easy all-butter pie crust recipe
- This pie crust dough easy to make and to work with. And is a great pie dough for your Thanksgiving pies and other favorite pie recipes!
- It’s flakey, tender, and delicious. While there are great store-bought crusts, and I use them often, homemade pie crusts are more flaky and tender, I think.
- You can make it ahead of time and store it in the refrigerator or freezer wrapped in plastic wrap and then in a zipper-top freezer bag. Storing the pie dough this way prevents it from absorbing any odors in the refrigerator or freezer.
- It works well for or savory pies like Tomato Basil Pie. Just omit the sugar.

Ingredients to make the pie crust
- Ice water: Using ice water keeps the butter from melting when you mix the pie dough and when you roll it out.
- Table salt, like Morton’s salt: Using salt enhances the flavor of your homemade pie crust. Without salt, the pie crust will taste bland.
- Sugar will give your pie crust a bit of sweetness.
- Cold, unsalted butter: Butter makes your pie crust flaky. Using cold butter means the butter will melt during baking which generates steam. You want to use unsalted butter so you can control the amount of salt in the recipe.
- All-purpose flour: Flour gives your pie crust structure from the gluten that develops due to the moderate amount of protein in all-purpose flour.
How to make this easy homemade pie crust

1. Place the flour, sugar, and salt in the food processor and pulse the flour mixture 2-3 times.

2. Add the cold butter and pulse 10 times until the mixture resembles coarse cornmeal.

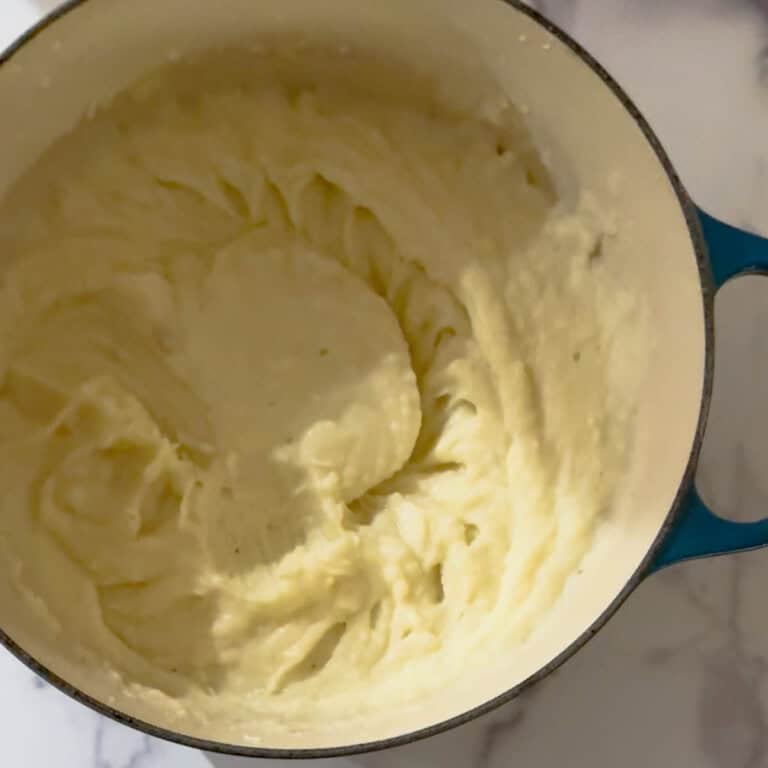
3. This is what the pie crust dough will look like after pulsing it 10 times in your food processor or using a pastry blender.

4. Remove the mixture from the food processor bowl and put in a medium mixing bowl. Add the ice water, a little at a time, and begin to bring the mixture together.

5. Form the dough into a disk and wrap in a sheet of parchment paper. Put in the freezer for 30 minutes to chill before rolling it out.

6. Remove the pie dough disk from the freezer and place it on your work surface. Sprinkle some flour on the parchment paper that you just removed from the dough. Then, sprinkle more flour on the disc of dough. Roll out the dough on the parchment paper turning the parchment paper a half turn every few times you roll out the dough. Roll the dough until it is about 1/4 inch thick, a little larger than the pie plate.
7. Place the pie pan upside down on the rolled-out dough and turn over the parchment paper/dough/pie plate all at once. This will place your pie dough right into your pie pan. Remove the parchment paper.

8. Tuck the overhanging dough under and decorate the edges, (or not), with your finger or a fork. From here, follow the directions for the pie you’re making. Some pie crusts need to be blind baked before filling and some do not.
Expert tips for making this easy pie crust dough recipe
- Make sure the butter is well chilled. Cold butter helps create a flaky pie crust by creating layers in the dough that are created from steam released as the butter melts.
- If the pie crust dough is too dry, add more ice water 1 tablespoon at a time. You can always add more if needed.
- Roll the pie dough out on a piece of parchment paper dusted with all purpose flour. Doing so, makes it easier to transfer the rolled out dough to the pie plate.
- If the pie crust edges begin to get too brown before your pie is fully baked, cover the edges with pieces of aluminum foil. You can also use pie crust protectors.
What to do with leftover pie dough
If there’s any leftover pie dough, you can make pie crust cookies. Simply use cookie cutters or a biscuit cutter and cut out the shapes. Place them on a parchment linked baking pan.
When I was a child, we brushed the pie crust cookies with melted butter and sprinkled them with cinnamon sugar before baking. They make the house smell comforting and the cookies taste great.
What if I don’t have a food processor
Good news! You can make this easy homemade pie crust recipe without food processor. In a large mixing bowl, gently mix the dry ingredients together using a wooden spoon or whisk. Then add the small chunks of butter that you chilled and blend using a pastry blender (sometimes called a pastry cutter).
Move the pastry cutter back and forth in a rocking motion until the butter is about the size of small peas and is combined with the flour. From here you can follow the recipe as written.
Just fill in your email address below, click “Save It,” and get it delivered right to your inbox along with other potential offerings from us.
Recipe for Easy Pie Crust
Ingredients
- 1 1/8 cups all purpose flour plus a little extra for dusting when rolling out the crust
- 1/2 teaspoon salt
- 1 teaspoon sugar
- 8 tablespoons cold unsalted butter, cut into cubes
- About 3 tablespoons ice water you might need more if the dough seems too dry
Instructions
- Place the flour, sugar and salt into the bowl of a food processor and pulse 2 or 3 times to combine the ingredients.
- Add the butter and pulse about 10 times or until the mixture looks like coarse cornmeal.
- Remove the mixture from the food processor and place in a medium mixing bowl. Drizzle the ice water over the flour-butter mixture. Bring the mixture together using a wooden spoon or spatula. You can also use your hands. If the mixture seems too dry, add more water starting with another 1/2 tablespoon.
- Form the dough into a disk and wrap it in parchment paper. Place in the freezer for 30 minutes.
- Remove the dough from the freezer. Sprinkle some flour on piece of parchment paper you just unwrapped from around the dough. Then sprinkle some flour on the disk of dough.
- Roll the dough by turning the parchment a half turn after rolling a few times. Roll out the dough to about 1/4 inch thickness and 10 inches in diameter ( a littler bigger than the pie plate).
- Place the pie plate upside down on the dough. Pick up the parchment/dough/pie plate and turn it all over at once. This will place the pie dough right into your pie plate.
- Remove the parchment. Gently press the dough into the pie plate. Fold any extra dough under to make the dough even with the outside edge of the pie plate. Then decorate (or not) by pressing with a fork or your fingers.
- Place the pie plate in the freezer for at least 30 minutes. Remove from the freezer and add the pumpkin pie filling. No need to pre-bake the crust this time.
Notes

We’re Elizabeth & Anna!
It’s great to have you here. We’re registered dietitians and we share tips to support you in raising kids with a healthy relationship with food.